LandingLens Makes
Computer Vision Super Easy
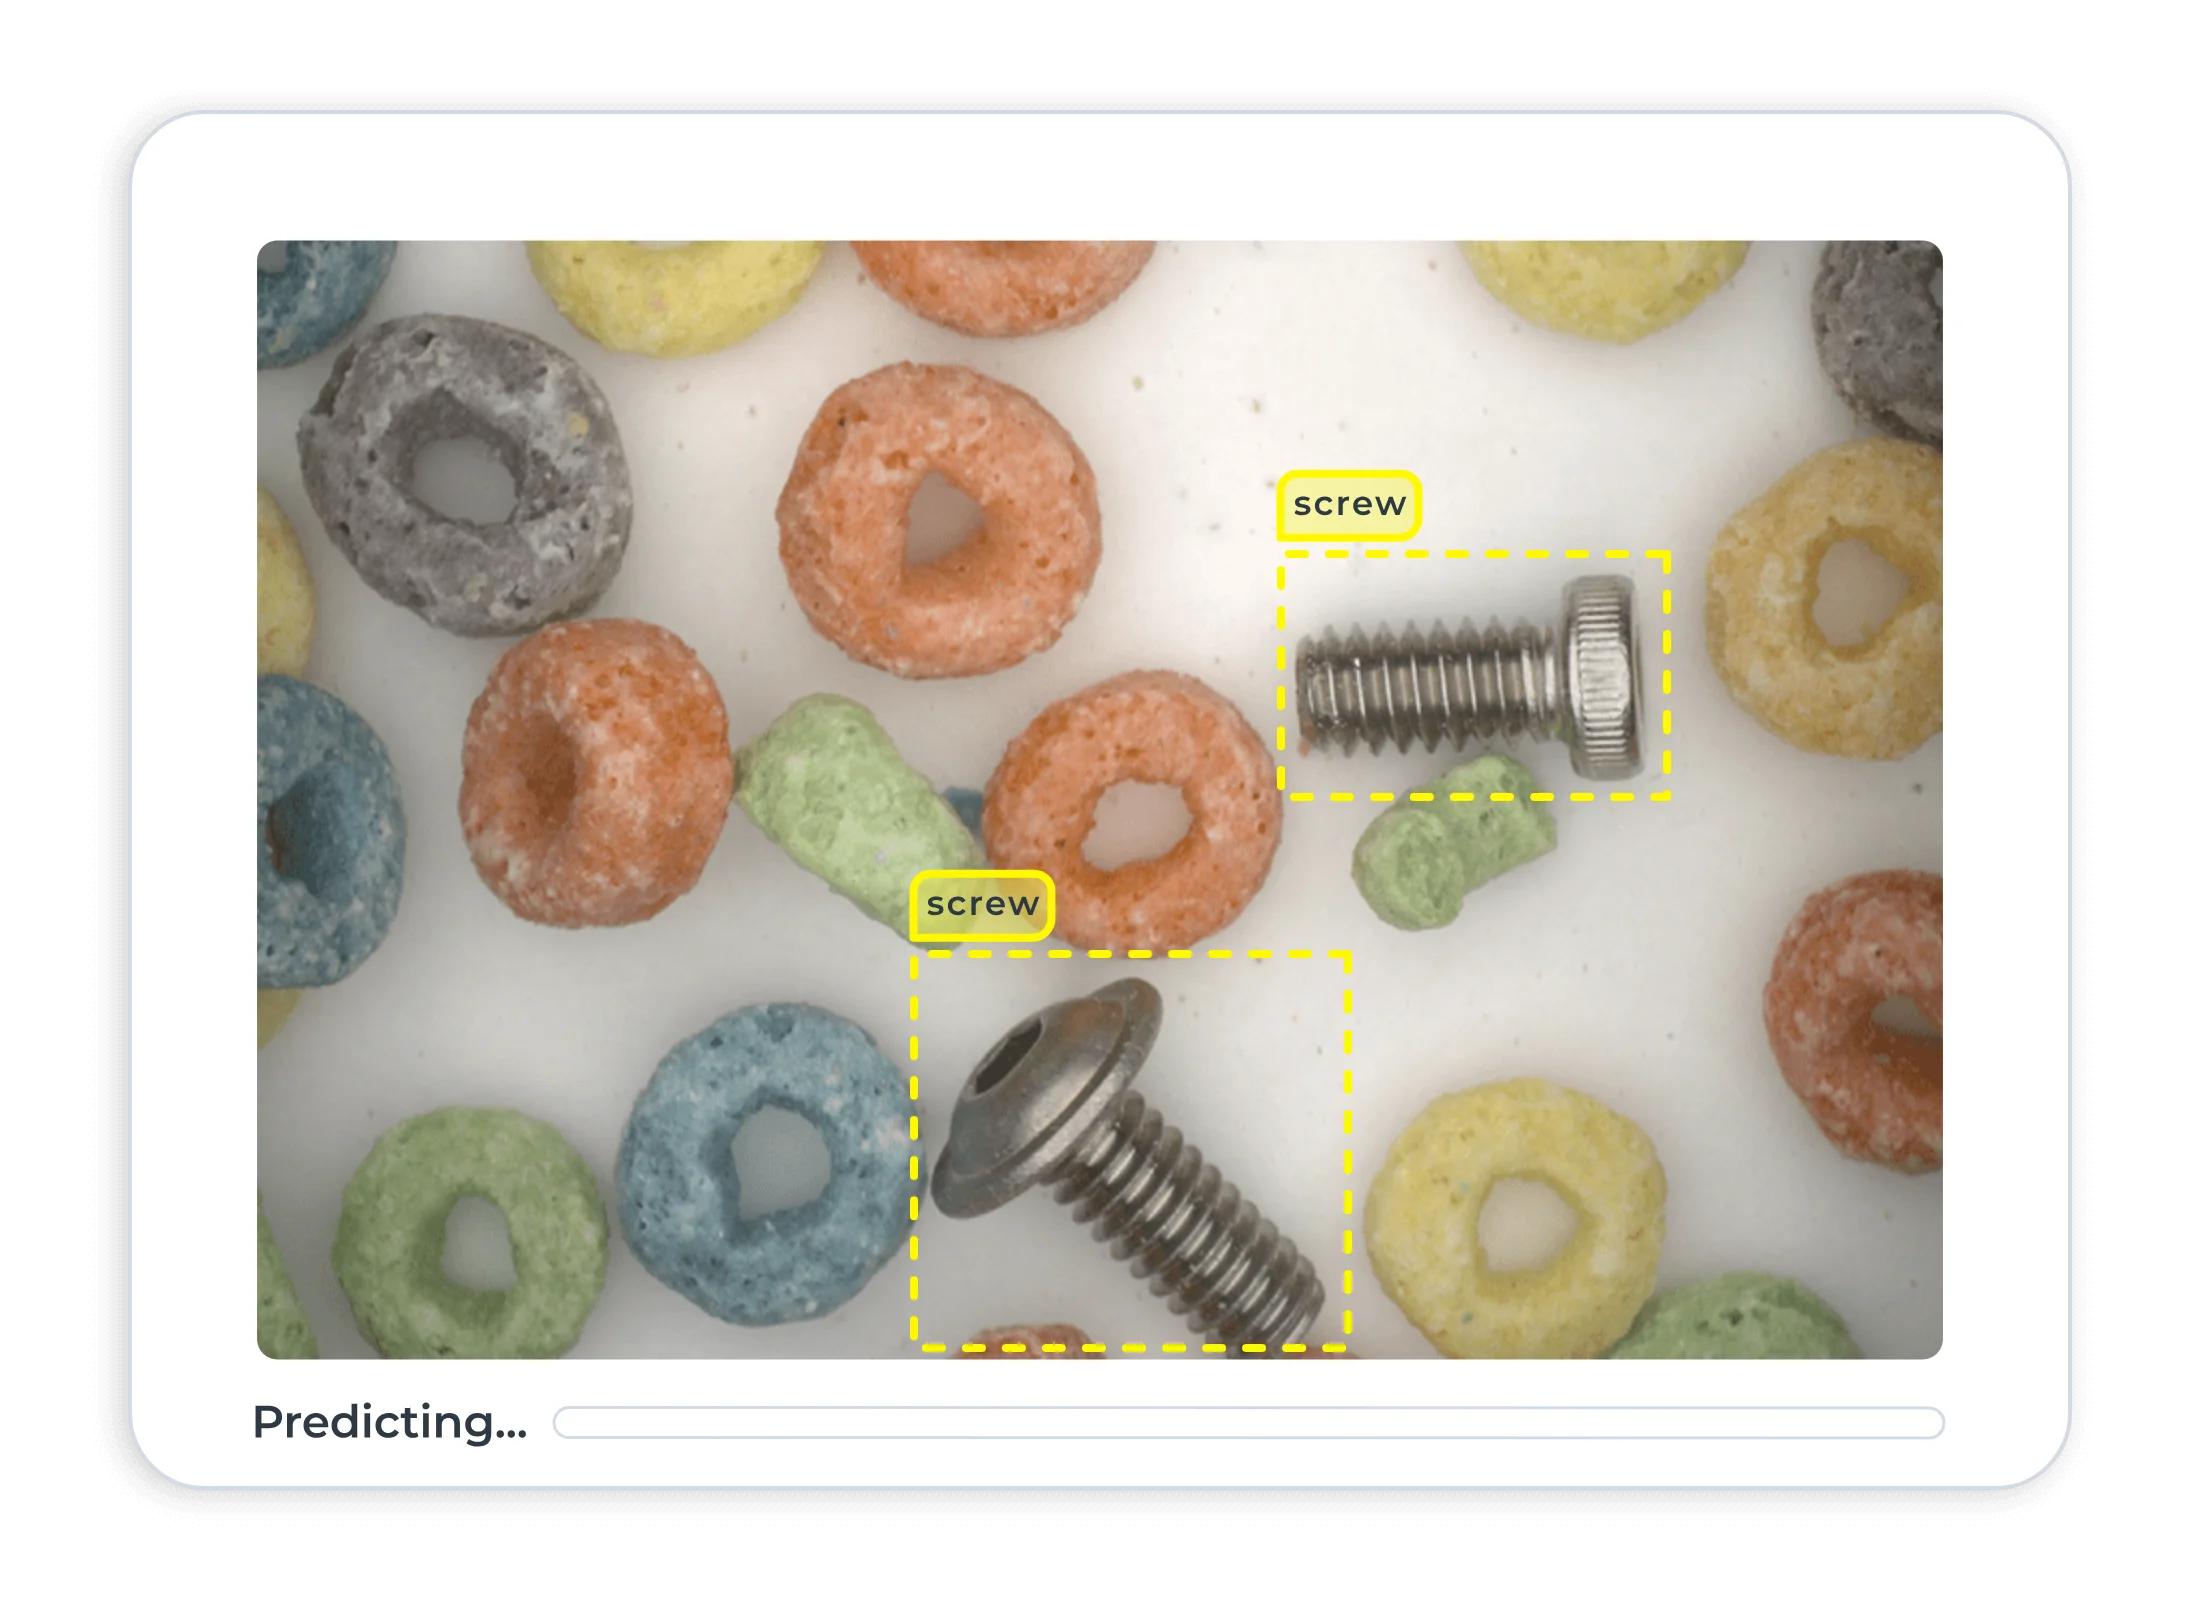
LandingLens is a deep-learning vision software and computer vision platform that lets you create and test AI projects in minutes—no complex programming or AI expertise required.

GET STARTED IN MINUTES
Makes computer vision super easy
An intuitive software platform that simplifies building AI and deep-learning-based computer vision models.
- No prior AI knowledge is needed—LandingLens is a no-code computer vision solution anyone can use
- Build an AI deep-learning-based computer vision model in minutes, then improve the software's performance quickly with an intuitive image labeling tool and one-button training
ACHIEVE DATA CONSISTENCY
Data-Centric AI delivers accurate results faster
Data-Centric AI helps improve computer vision models, even with small datasets, by focusing on high-quality data.
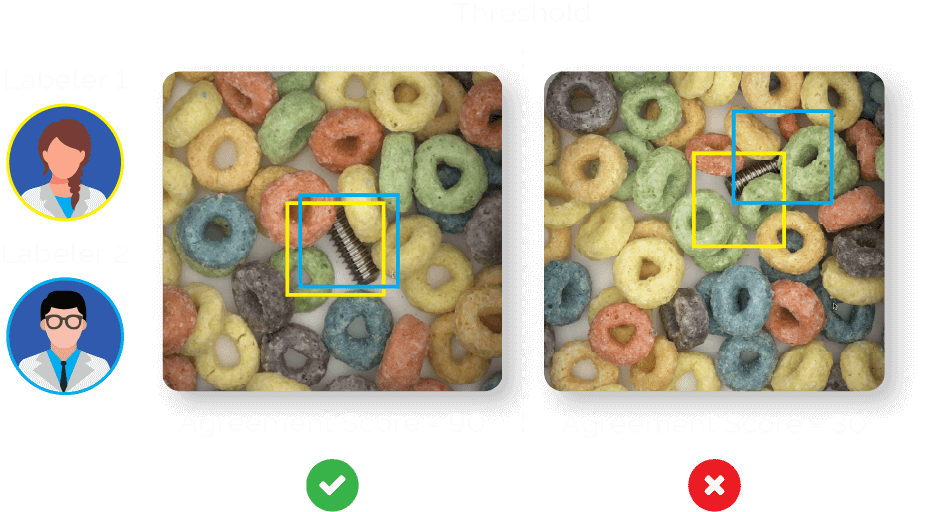
- Ensure data consistency in LandingLens using our label book to align on clear definitions of classes and labels across your team
- Advanced labeling technology automatically detects mislabeled images, improving your overall data quality
- Collaborative labeling enables multiple users to label images together, building consensus for more reliable computer vision machine learning
INTEGRATE AND IMPROVE
Flexible deployment and continuous improvement
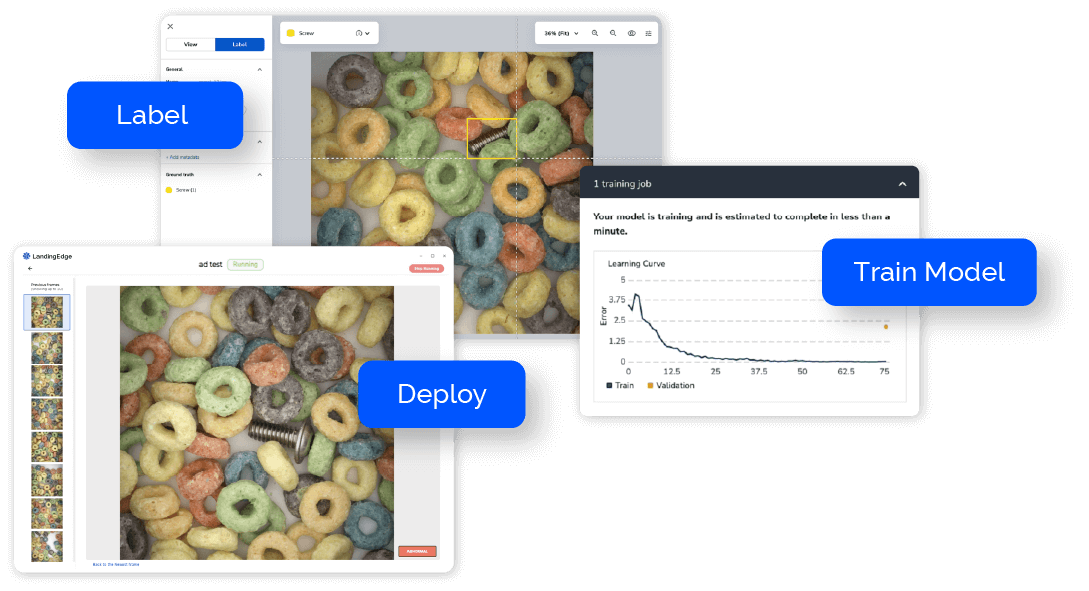
Cloud and edge device deployment capabilities make integrating this deep-learning vision software platform into existing environments seamlessly—deploy and test your model with just a few mouse clicks.
- Choose the deployment option that fits your needs, from Windows App to programmatic API
- Continuous learning keeps your model up-to-date by adding new data from the deployment environment to re-train the model in LandingLens

COLLABORATE AND SCALE
Scalability
From a single production line to worldwide operations, LandingLens makes scaling projects simple.
- A simple workflow for a wide range of applications—from basic tasks to complex deep-learning computer vision projects
- A single computer vision software platform to manage multiple projects in different locations and collaborate with other teams
- A standardized workflow reduces the time to adopt and share project knowledge with another team as your operation grows
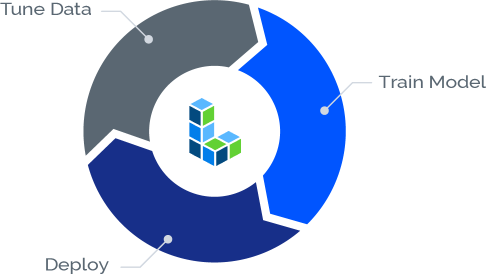
How it Works
Check out how LandingLens makes computer vision more accessible and delivers accurate models faster.
1. Upload
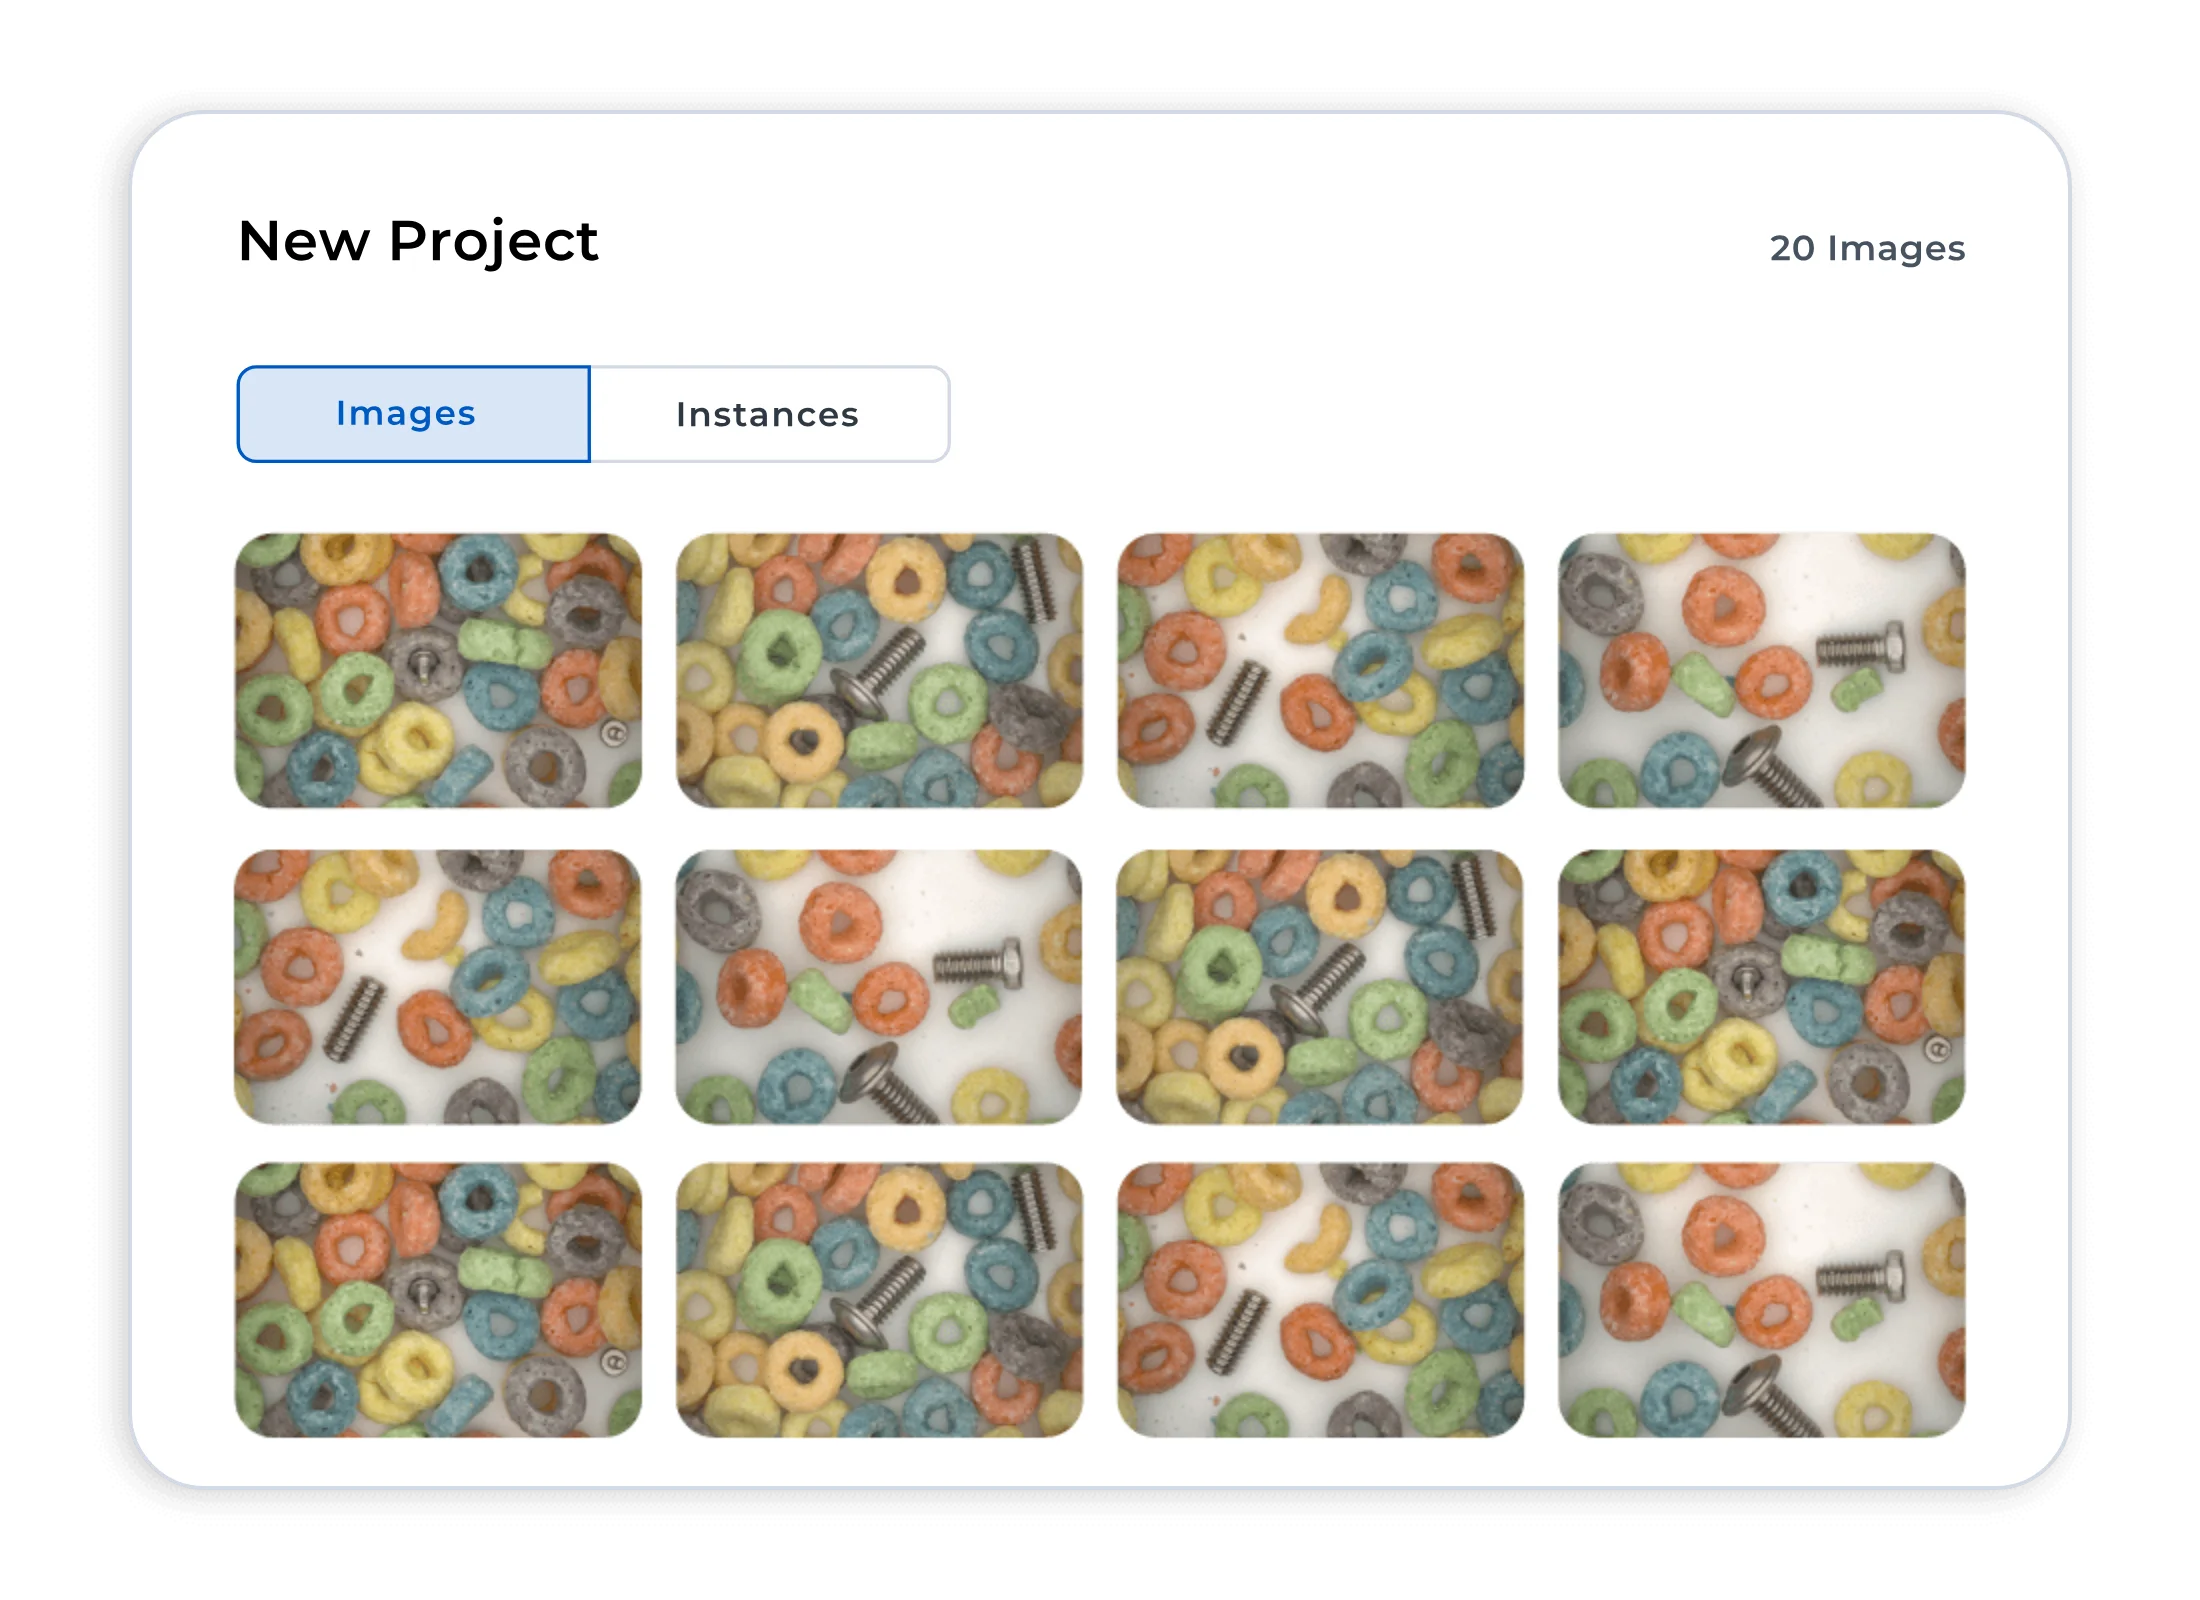
2. Label

3. Train
4. Deploy